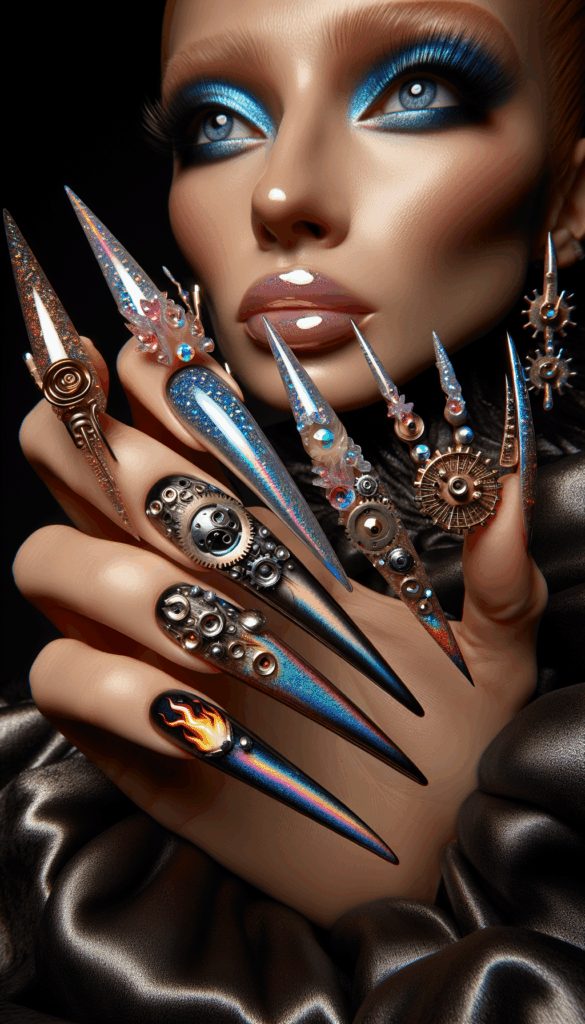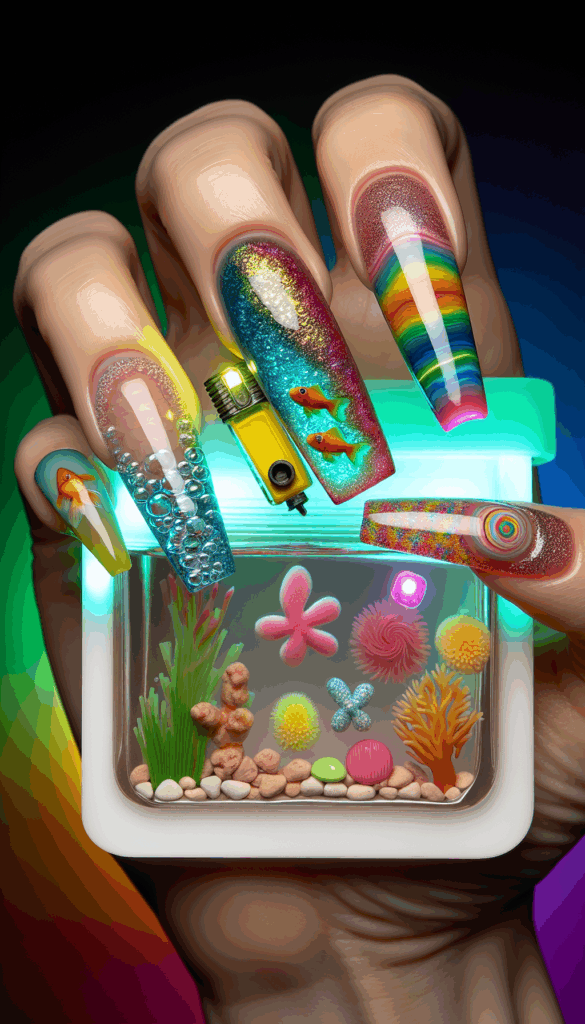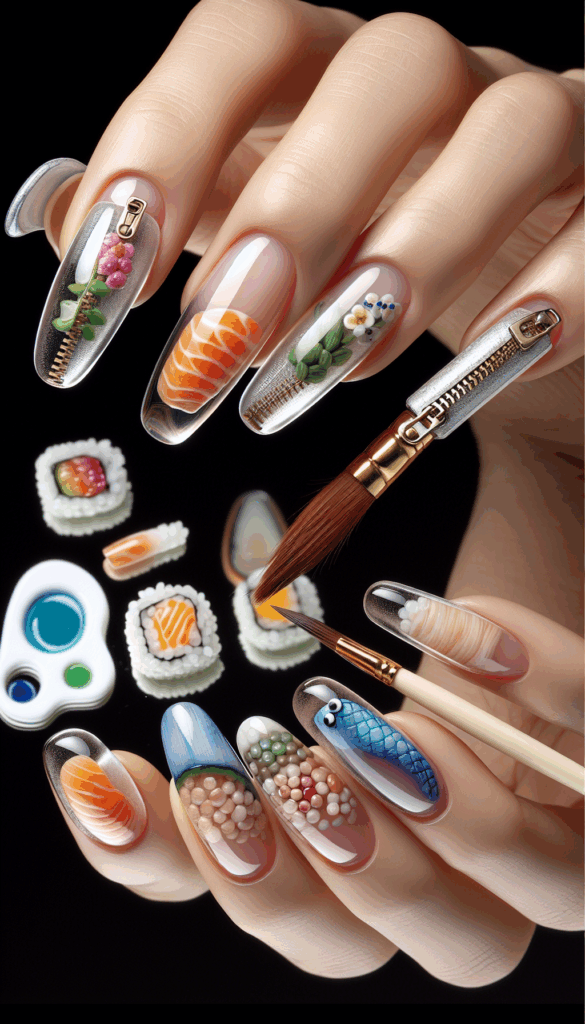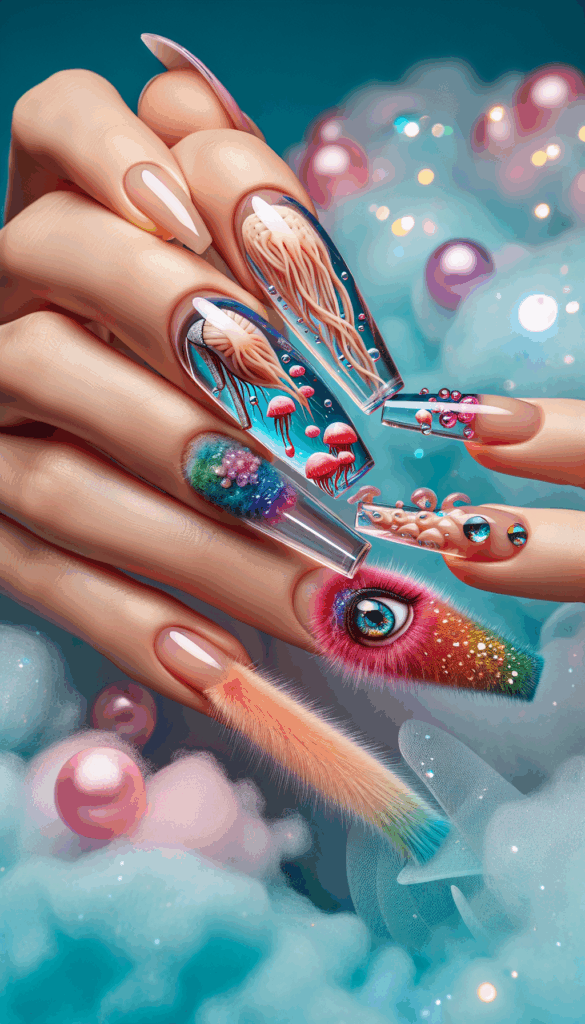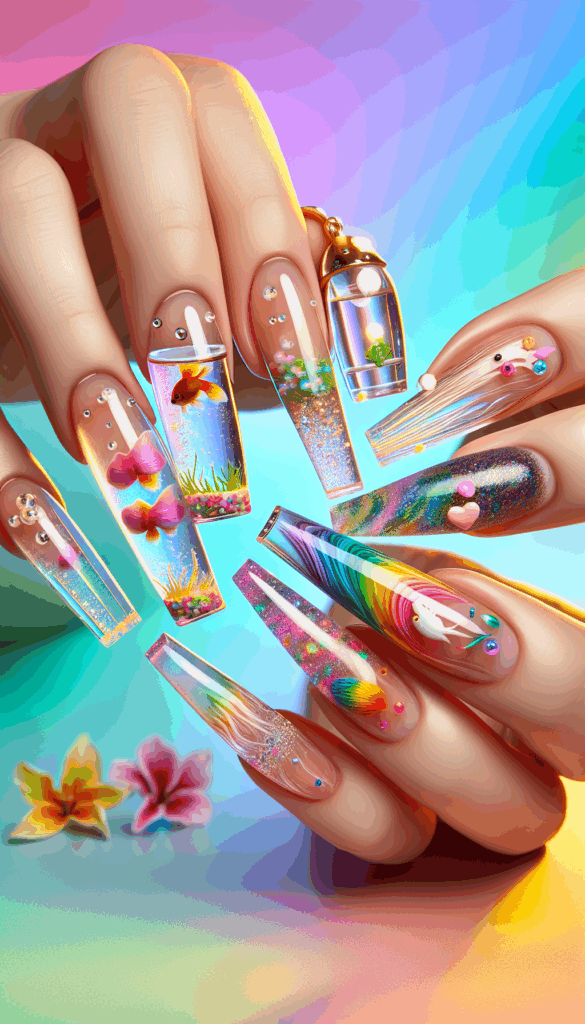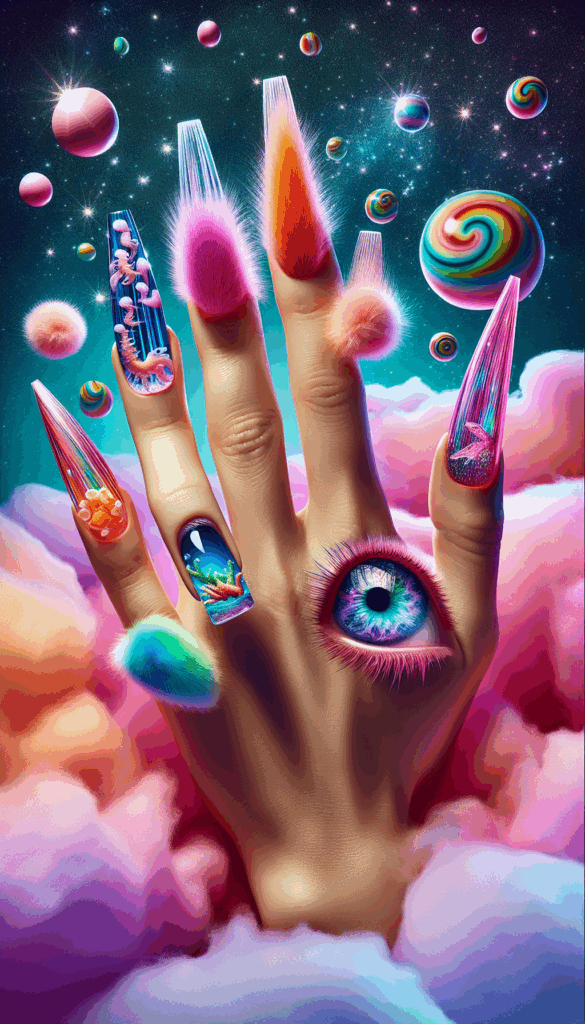
Behind the Scenes: Creating Intricate Nail Art Patterns
Welcome to a delightful dive into the world of DIY nail art. If you’re like me, constantly craving gorgeous nails without the hefty salon bill, you’re in the right place. The magic of at-home manicures is more accessible than ever. Why save intricate designs just for a professional? You can create stunning nail art at home and make your fingertips a canvas of creativity. And the cherry on top? Easy at-home designs — salon vibes for less!
Love our content? Show your support by following us — pretty please!🥺
FOLLOW ON PINTEREST
Hi! I’m Kate, the face behind KateFi.com—a blog all about making life easier and more affordable.
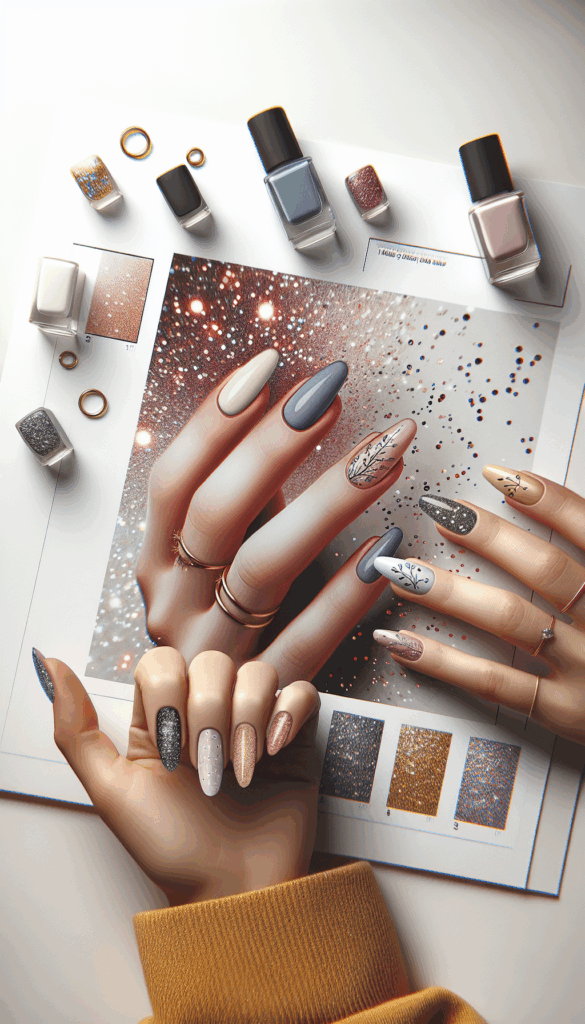
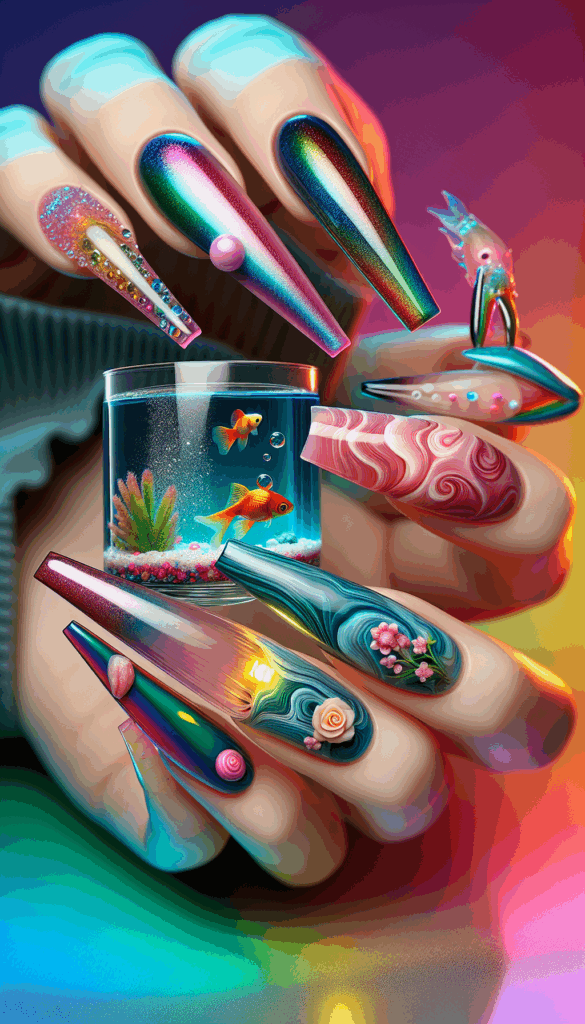
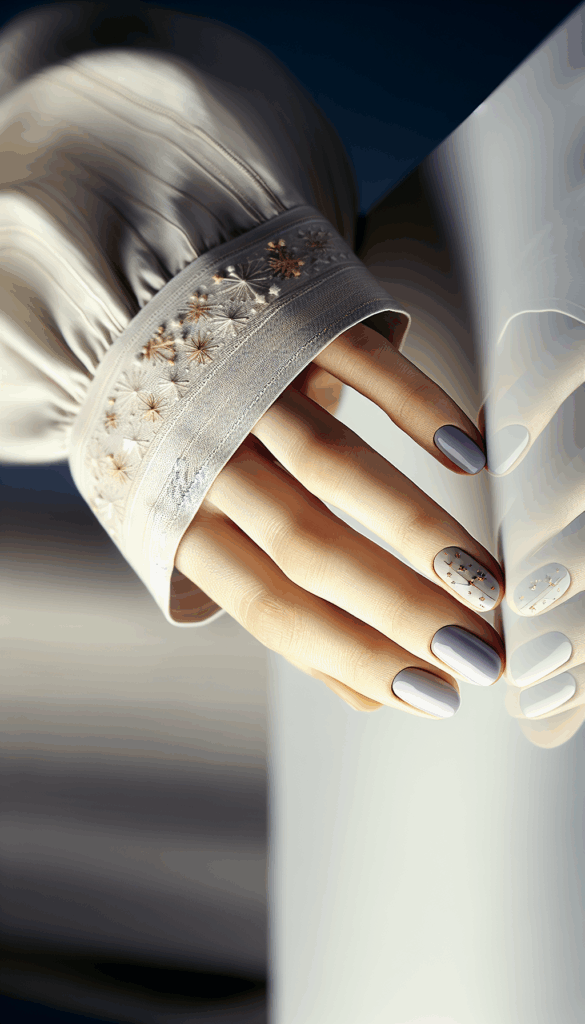
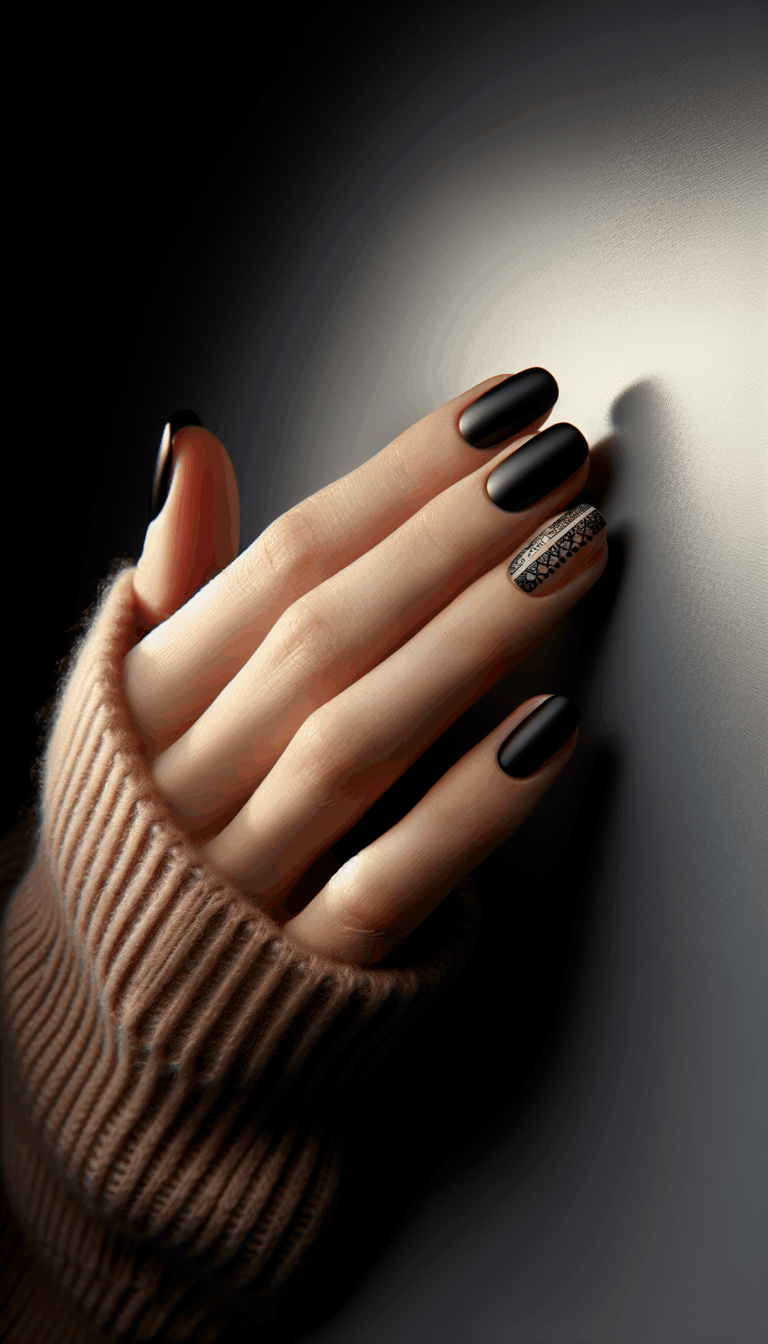
Why You’ll Love These Nails
- Easy at-home designs — salon vibes for less!
- Budget-friendly — no fancy products needed
- Step-by-step tips for a pro finish
- Works with press-ons or your real nails
- Lasts all week (even if you’re always typing)
Let’s not kid ourselves; the scariest part of nails is starting. But trust me, the hardest part is literally getting the polish out of the bottle. Once you’re past that hurdle, it’s smooth sailing. Get ready to unlock the secret to salon-quality nail art without stepping out of your cozy home.
What You Need
- Base coat
- Your favorite nail polish colors
- Nail striping tape or thin paintbrush
- Top coat
- Nail dotting tool (or a bobby pin)
- Nail polish remover
- Small brush for cleanup
💸 Want Free Cash Instantly?
Get paid up to $5,000 per offer for testing games, apps, and surveys. Over 140,000+ offers available now — with instant cashouts by PayPal, bank, crypto, or gift cards. Top users earned $6,000+ last month!
- Earn money for playing games (Dice Dreams, Clash of Clans, Netflix, TikTok…)
- Surveys, free trials, and more
- Instant withdrawals — PayPal, crypto, Visa, and more
- Over 201,000+ Trustpilot reviews (4.6/5 stars!)
Sign Up Free — Earn Your First Cash in Minutes
Step-by-Step Nail Art Tutorial
- Prep Your Canvas: Start with a clean slate by removing any old nail polish. Apply a base coat and let it dry completely.
- Choose Your Base Color: Apply two coats of your chosen color, allowing each coat to dry. Think of this as your background.
- Start Designing: Use striping tape to section off parts of your nail or use a thin paintbrush to draw lines and shapes. Go wild with abstract designs or keep it minimal with diagonal lines.
- Add Some Dots: Using a dotting tool or a bobby pin, add dots for a polka dot look. Place them strategically for a chic and modern vibe.
- Seal the Deal: Once your design is dry, add a top coat to seal your masterpiece and add a stunning shine. Clean up any mistakes with a small brush dipped in remover.
- Show It Off: Flaunt your stunning nails and bask in the compliments!
How I Funded My Mani Obsession (Real Work-from-Home Gigs)
ChatJobs: Get Paid to Chat (No Experience Needed)
Earn up to $50/hour just chatting for companies like Amazon, TikTok, and Netflix. No phone calls, no video, and no sales required—just easy chat support jobs you can do on your phone or laptop. Gigs fill fast—apply now!
SocialPaid: Turn Scrolling Into Cash
Get paid $25–$50/hr posting memes, replying to DMs, and testing new features for brands on Instagram, Facebook, and Twitter. No followers needed—work from your phone, even while your nails dry.
WritingJobs: Paid to Write from Anywhere
Earn $40–$100/hr for writing simple blog posts, reviews, or product descriptions. No degree or portfolio needed—just basic typing skills. Reader win: “Last week, one reader got her first paycheck in 3 days after signing up. Real talk!”
Keeping It Real: Nails and Side Gigs
- Balancing beautifully decorated nails and a busy life can be challenging – social media gigs let you work on the go!
- DIY nails teach patience and creativity – skills you’ll also apply to any side hustle.
- Sharing your nail art on social media can actually help boost your side gig hustle – win-win!